2025 Car Polishing Guide | Featuring Enthusiast Polishing Kit
That deep, glossy, swirl-free finish you see on professional show cars is now something you can achieve right in your own garage. We've specifically designed our Enthusiast Polishing Kit to give you everything you need to safely and effectively transform your car's paintwork, and this guide is your complete roadmap.
Paired with our comprehensive video tutorial, this article breaks down the entire process from start to finish. We'll walk you through the three essential stages, starting with the proper preparation needed to wash and decontaminate your paint for a perfectly clean foundation. From there, we'll cover how to master the dual-action polisher, from finding the right pad combination to applying correct pressure, before showing you how to lock in your incredible results for the long haul.
Introducing the ERO600 Dual Action Polisher
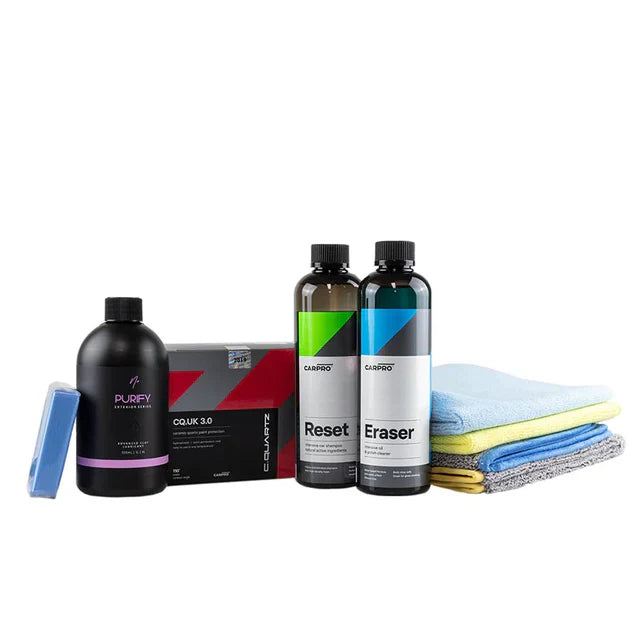
Swirl marks and dull paint can ruin the look of any car, but correcting them is easier than you think. This video is the ultimate beginner's guide to machine polishing, designed to give you the confidence to achieve stunning, professional-level results at home. Using our all-in-one Waxit Enthusiast Polishing Kit, we take you through the complete A-to-Z process. You'll learn the crucial first step of proper paint preparation and decontamination to create a perfectly clean slate. Next, we dive into the core techniques for mastering the dual-action polisher and finding the right pad-and-polish combination for your car. To finish, we'll show you exactly how to seal in that incredible gloss with a durable layer of protection. Go give it a watch as we discover the Waxit Enthusiast Polishing Kit.


Prep Is Key!
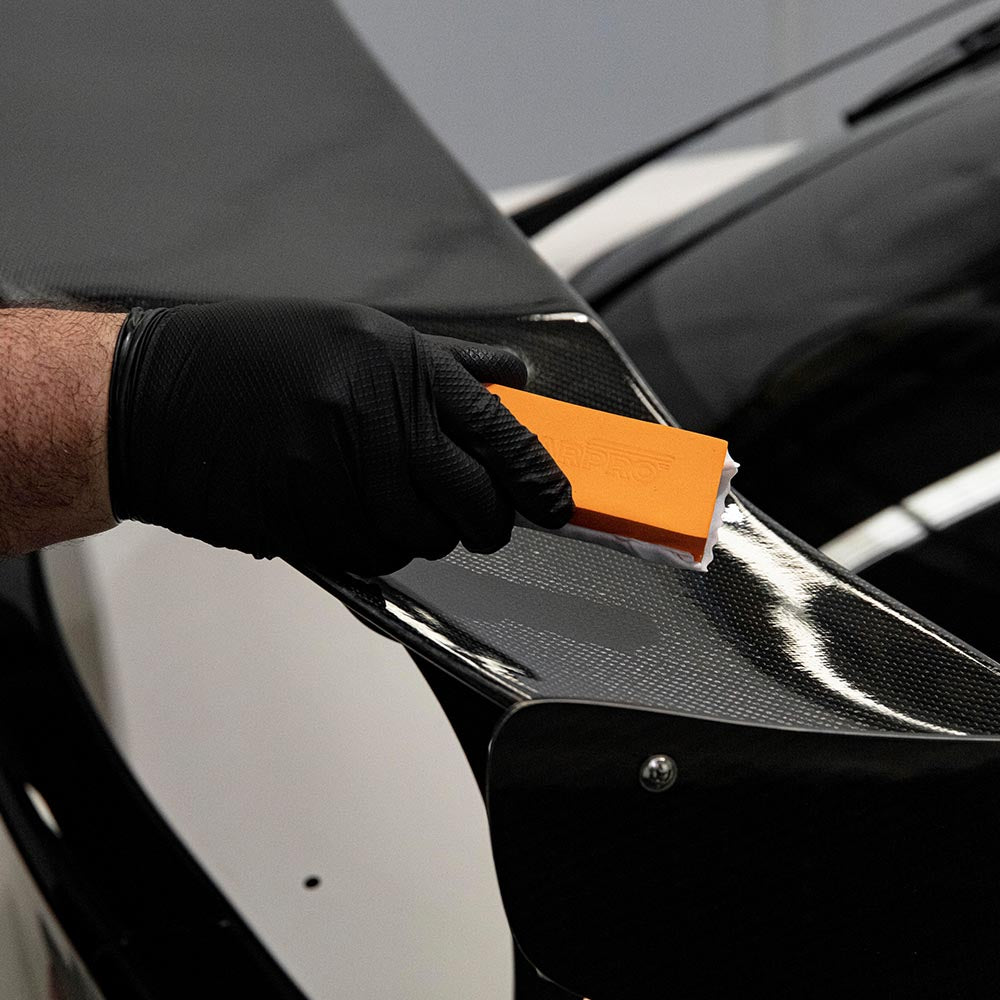
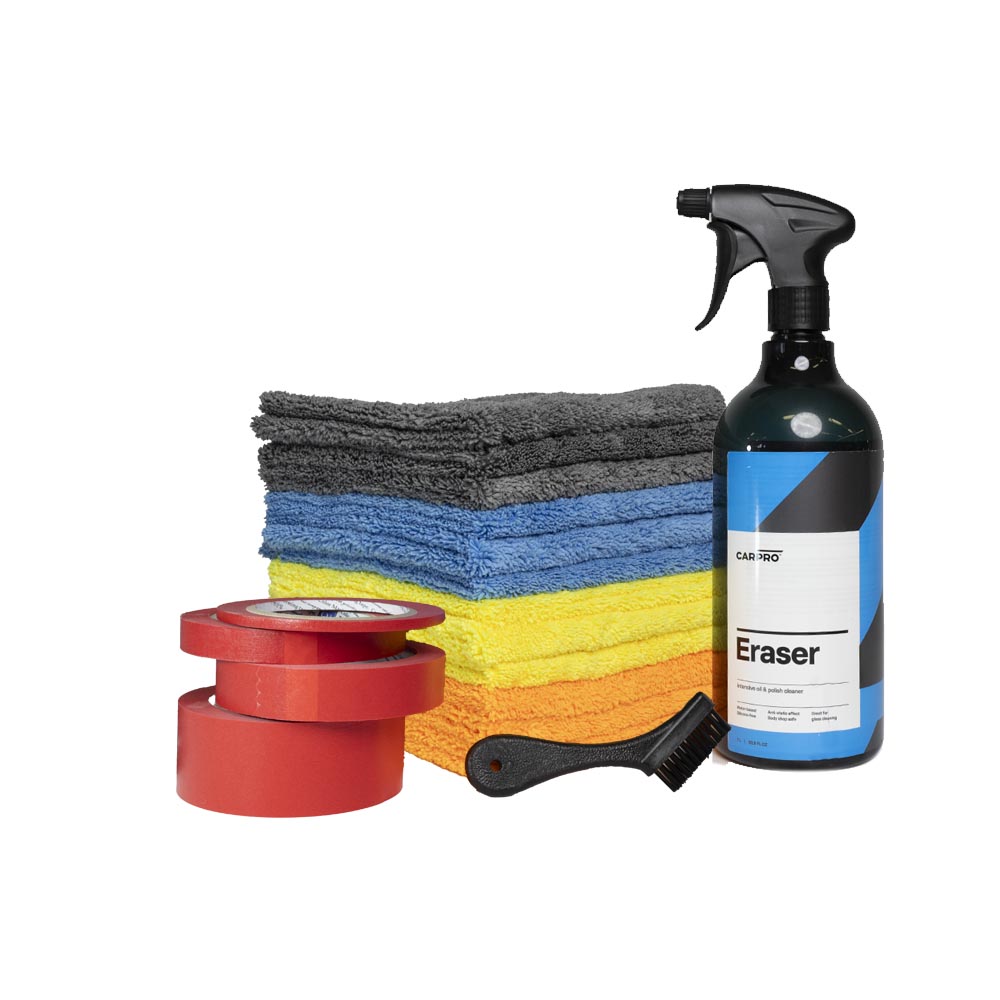
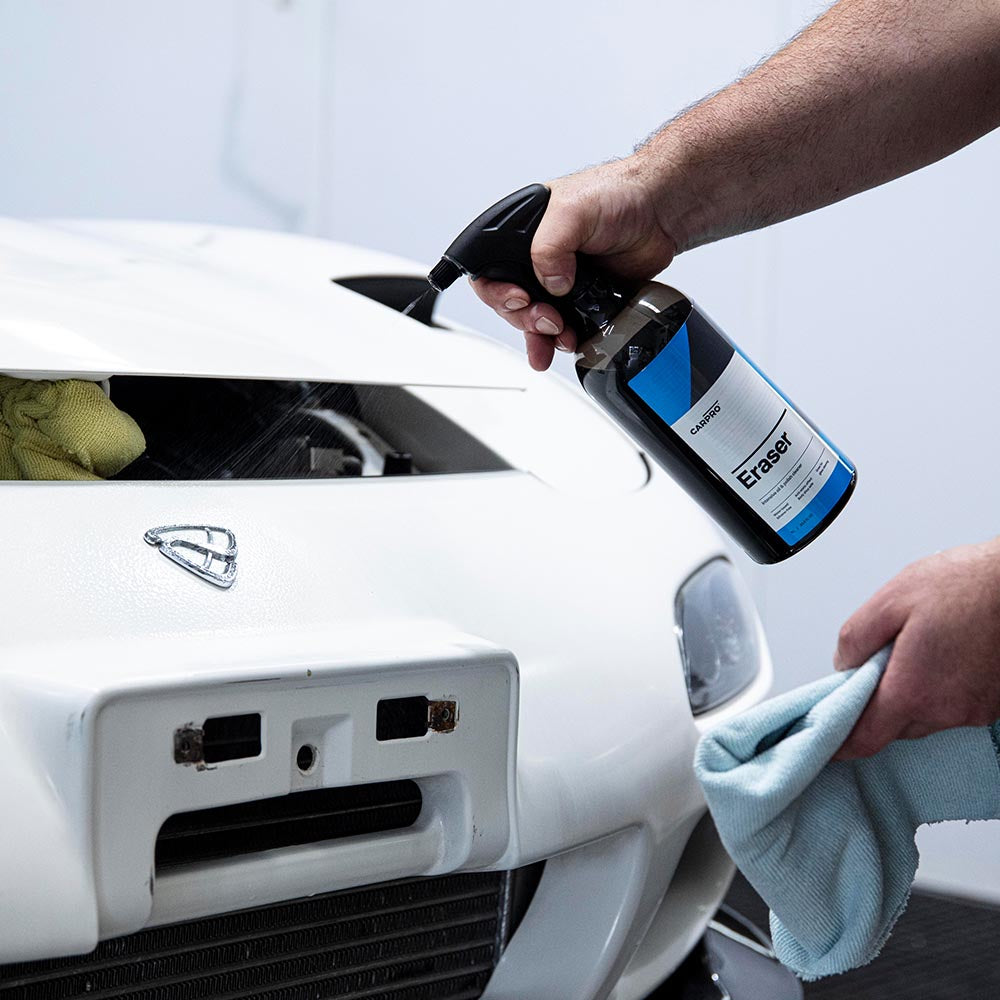
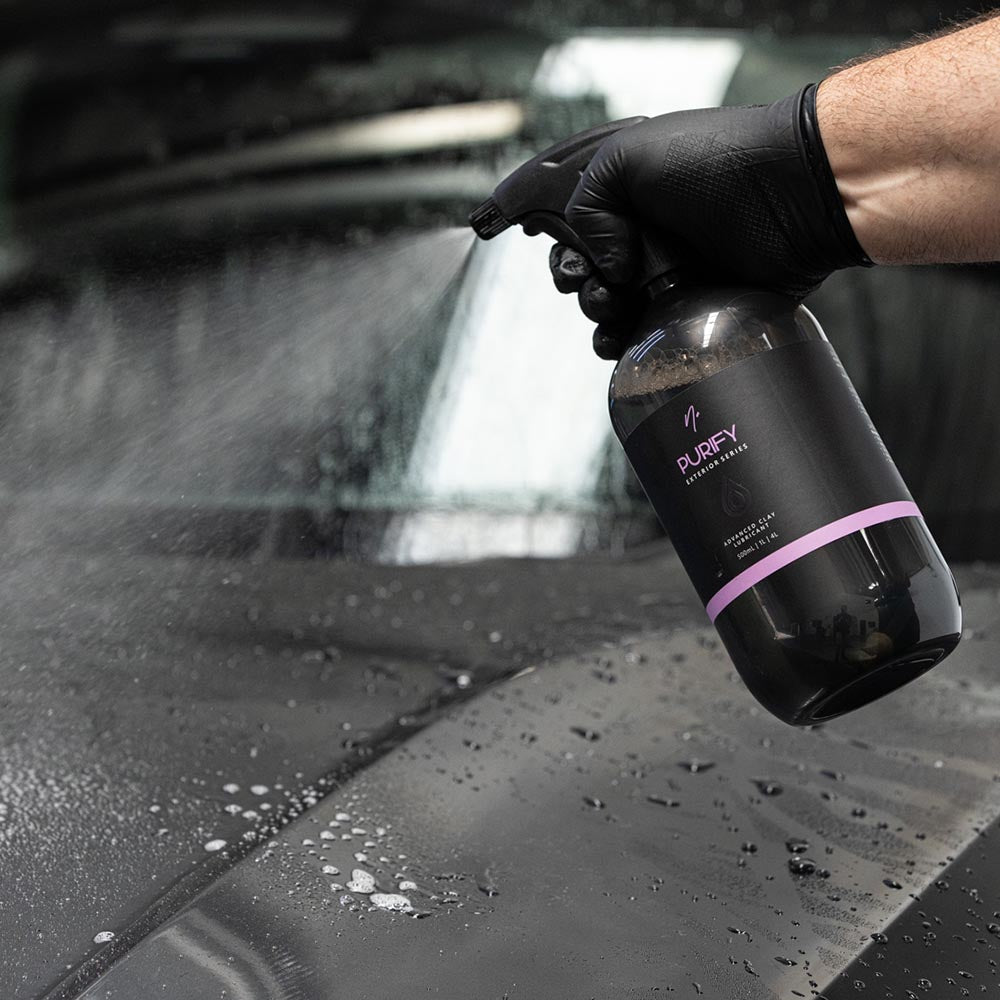
Before you even think about polishing, remember this: proper prep is non-negotiable. Polishing over contamination doesn’t just limit your results; it’s like grinding dirt into your paint, which can cause more swirls and damage. First, a thorough wash removes loose grime. But the real game-changer is the decontamination stage, which tackles the embedded particles that washing leaves behind—things like industrial fallout, tar, and iron particles that make the paint feel gritty. For a complete guide on tackling this, see our Vehicle Decontamination Blog. The key is using a clay bar or mitt with a quality lubricant like Nv Purify. This helps break down stubborn contaminants and lets the clay glide smoothly, lifting particles that could otherwise get caught in your polishing pad and cause damage. Once the paint feels perfectly smooth, a final wipe-down with a solvent-based cleaner like CARPRO Eraser will strip away any remaining oils or residues. This gives the polish a perfectly clean surface to work on, ensuring more consistent results. The last step? Taping. Take a few minutes to mask sensitive rubber trims, badges, and plastic edges. This not only protects them but also keeps your polish focused on the paint and saves you clean up headaches later.
Setting Yourself Up For Success
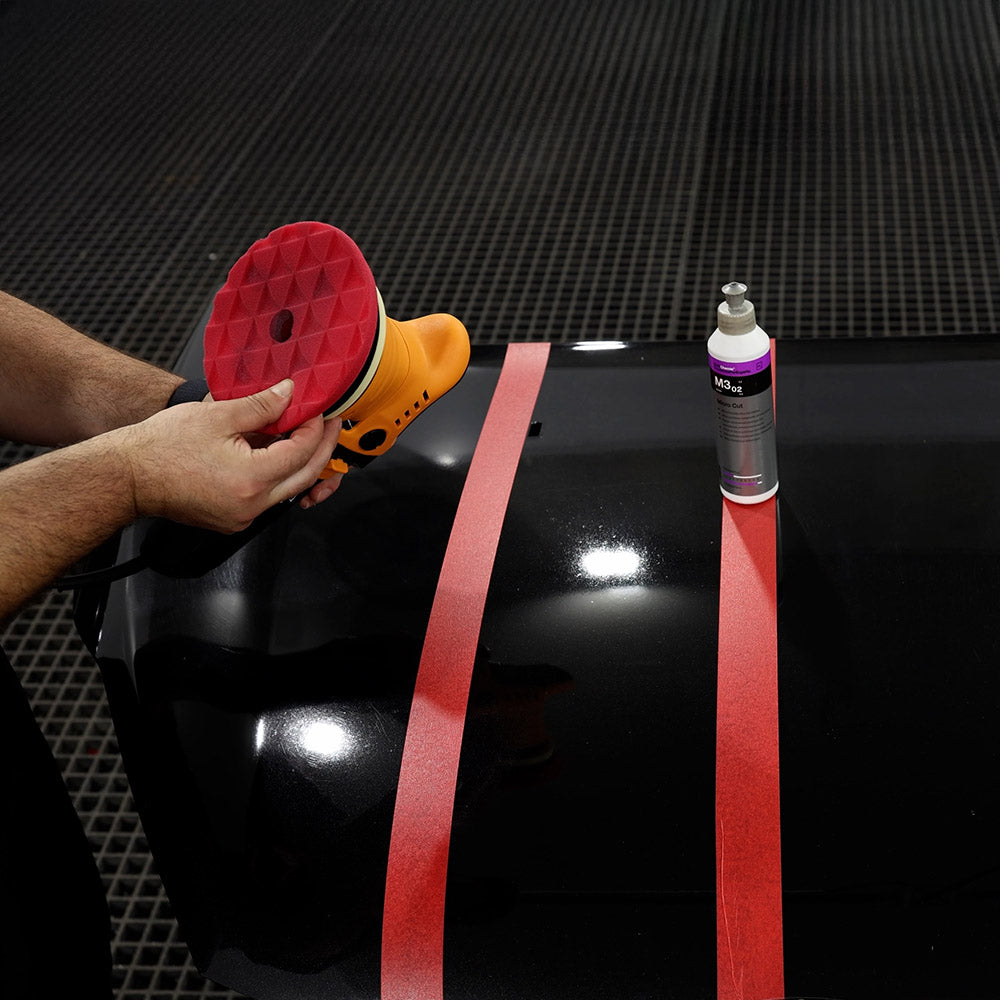
With the prep done, the next logical step isn't to polish the whole car—it's to perform a test section. While it's tempting to jump right in, this single step is what separates a good result from a great one, and it’s the secret to working efficiently. Think of the test section as your diagnostic tool. Every car's paint is different, and this small patch allows you to troubleshoot which pads and polish combination will be most effective. Figuring this out early on can actually save you a massive amount of time. There’s nothing more frustrating than polishing an entire car, only to find the combo wasn't quite right and you have to do it all over again. Furthermore, a test section on a flat, simple panel like the bonnet is the perfect low-risk practice area. It gives you a chance to get a feel for the machine, dial in the correct pressure, and build confidence before tackling more complex curves and vertical surfaces. By testing first, you ensure the method works and you're comfortable with the process, setting you up for a safe, consistent, and flawless finish across the entire vehicle.
Preserve Your Hardwork
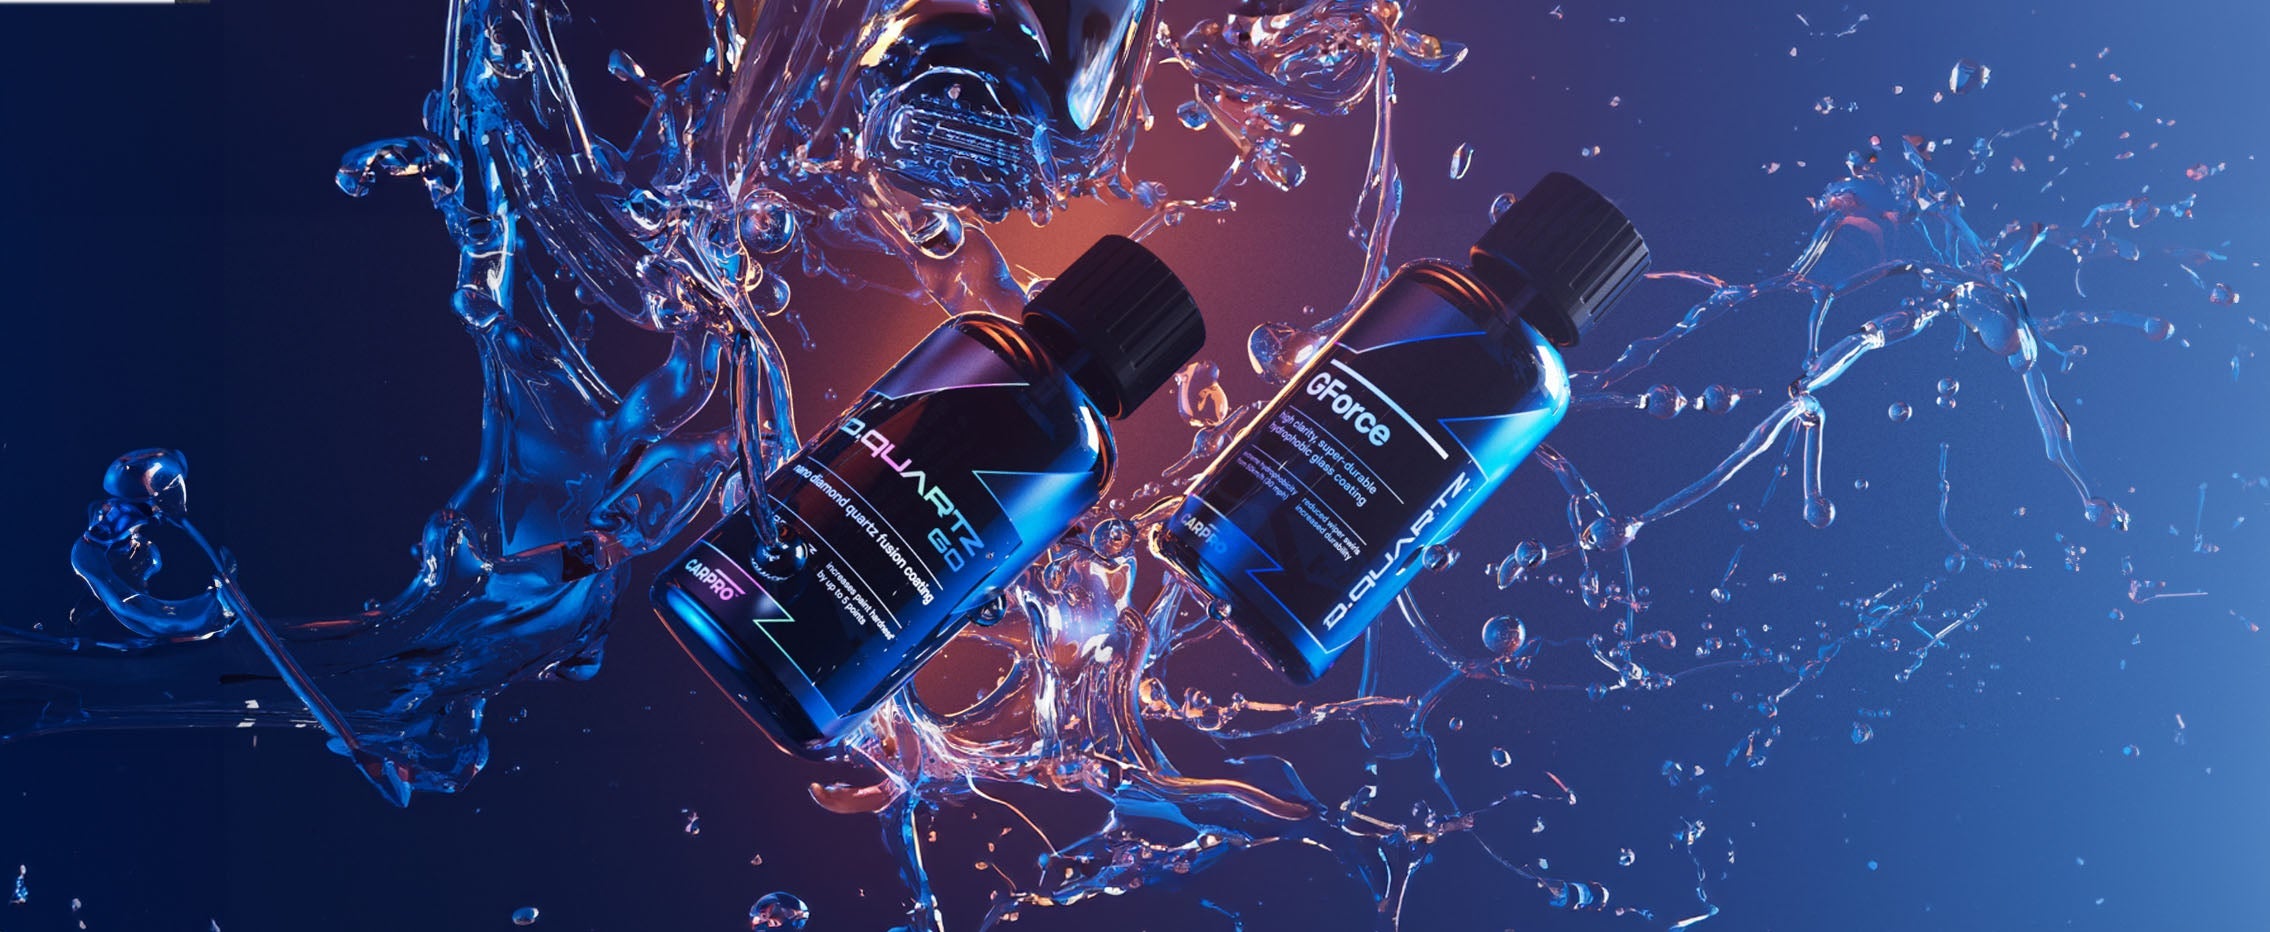
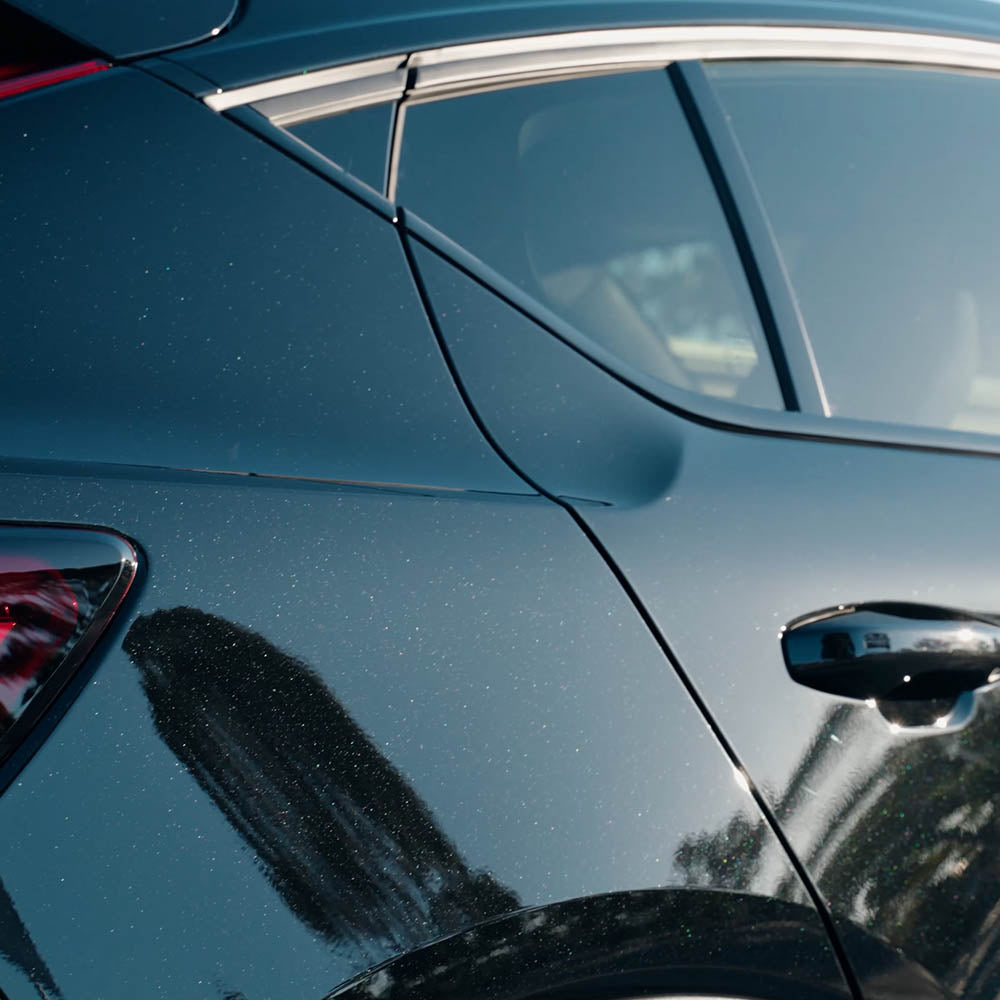
After all that hard work, your paint is now perfectly clean, glossy, and refined. The final, crucial step is to lock in those results with a layer of protection. Applying protection now is what preserves your efforts and keeps the paint looking incredible for months or even years to come. You have several options, from traditional carnauba waxes to modern synthetic sealants and durable ceramic coatings. Each offers a different balance of gloss, longevity, and ease of use. The best choice depends entirely on your goals. To help you decide, we break down the pros and cons of each in our detailed Guide for Types of Paint Protection. Hopefully, this guide has given you the confidence to start your polishing journey. With the right tools and techniques, you can achieve a level of clarity and gloss you never thought possible, right in your own garage.
