




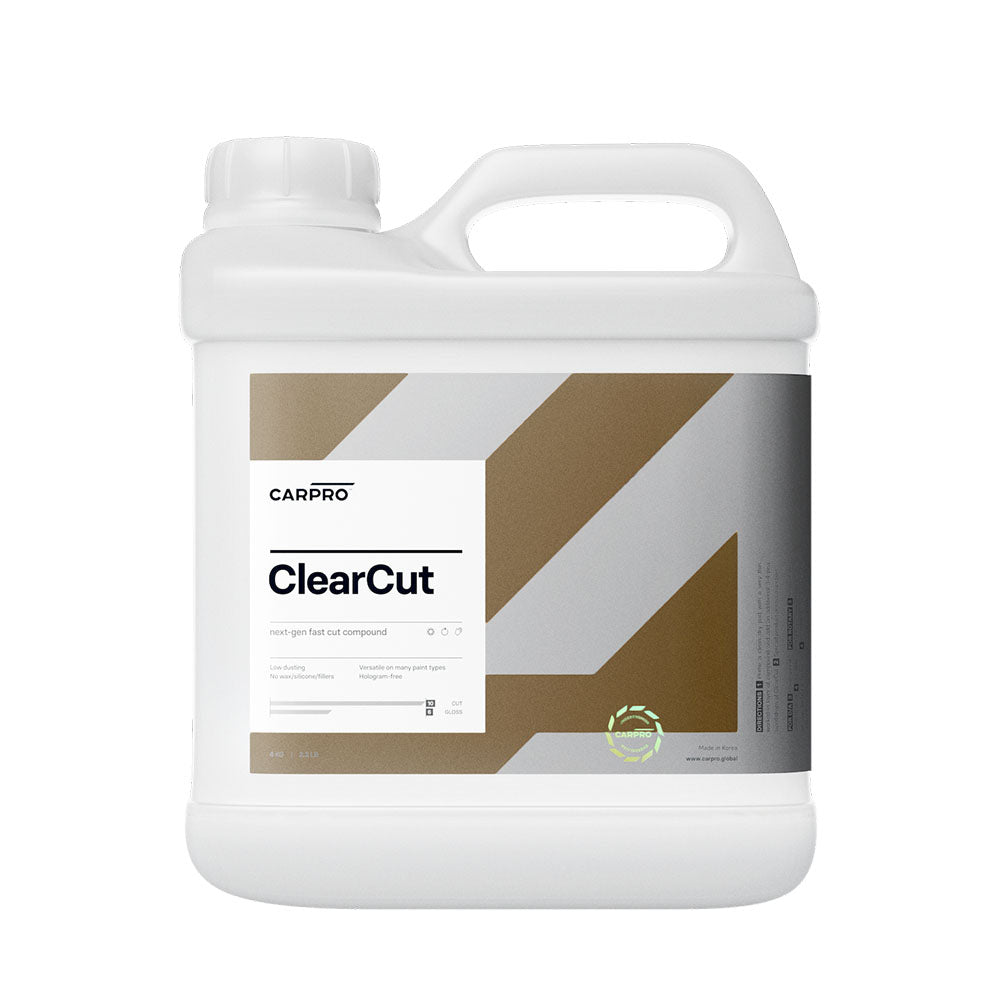

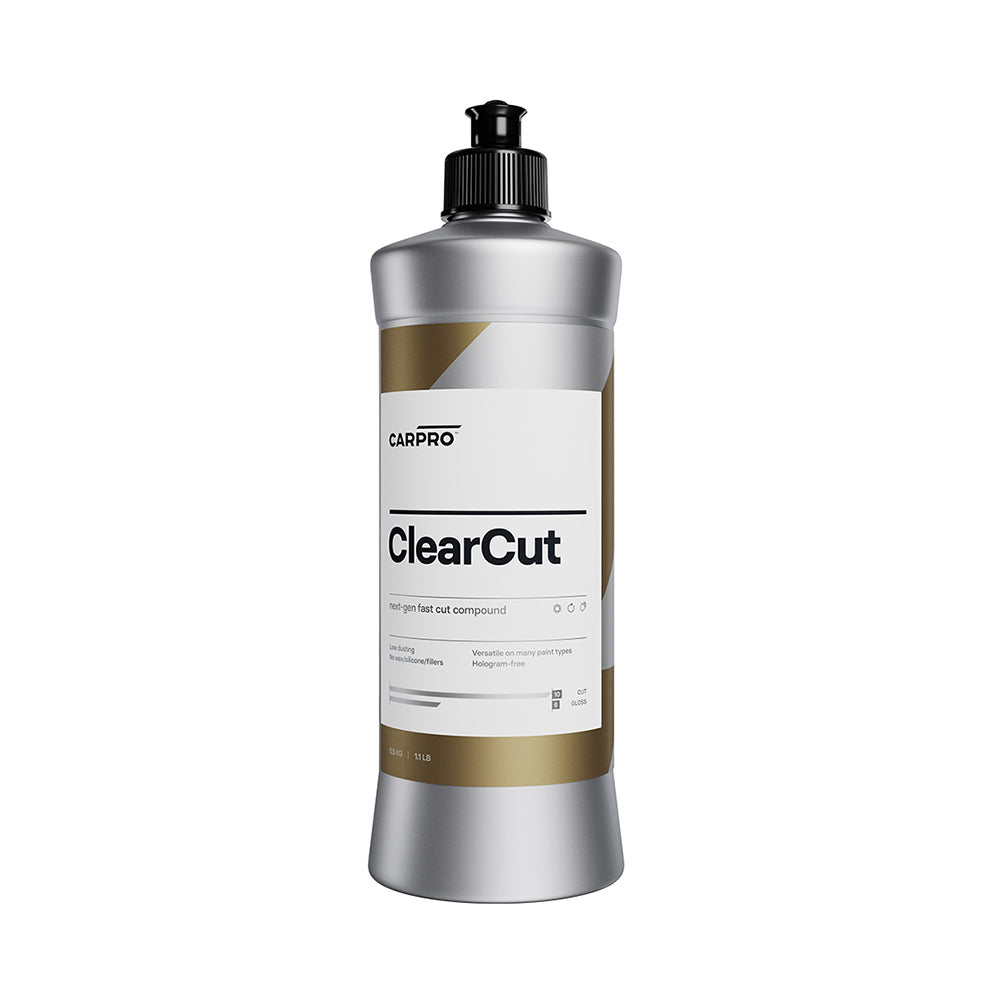
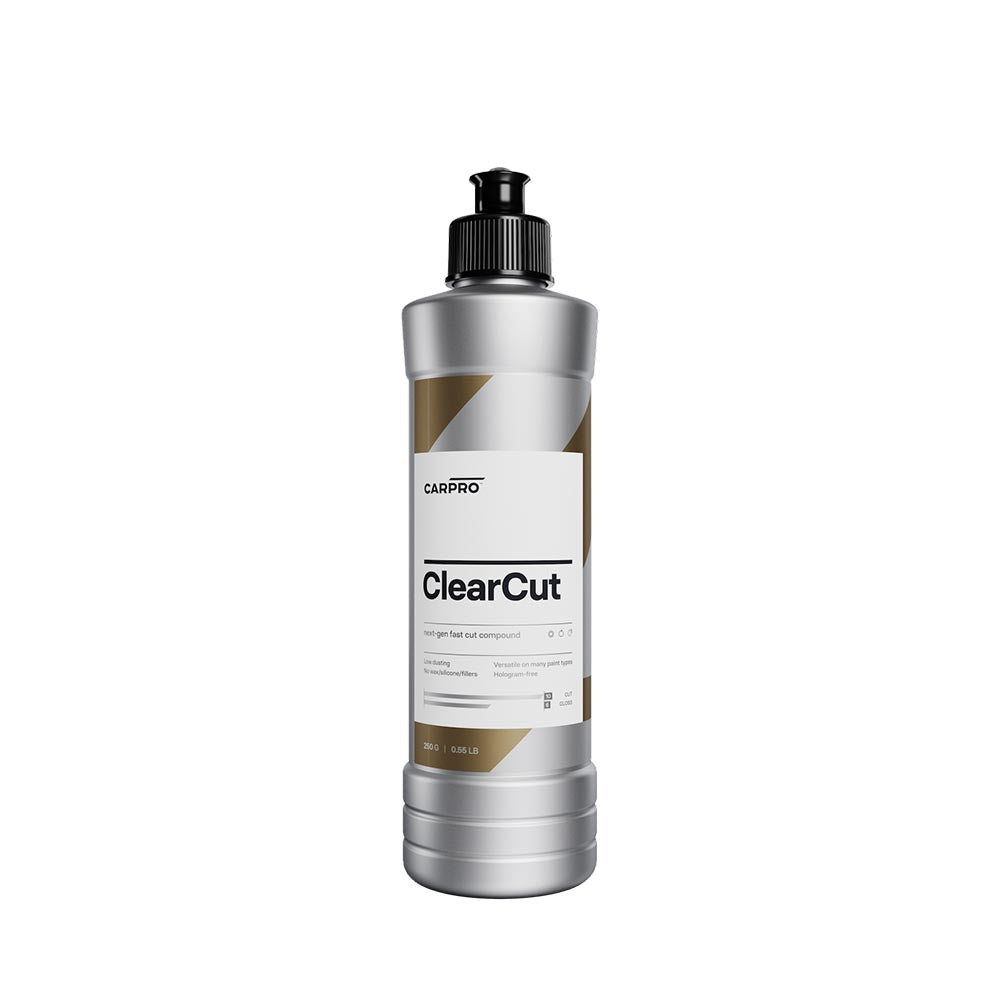

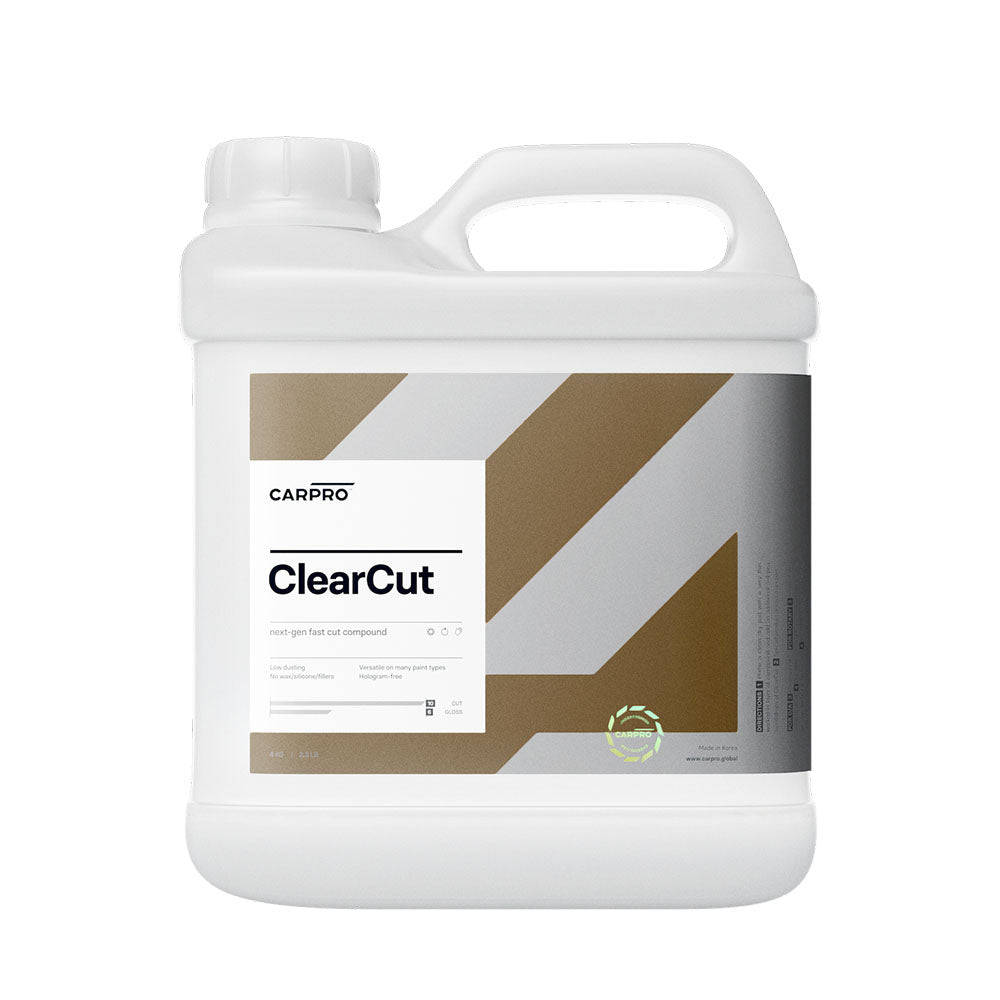

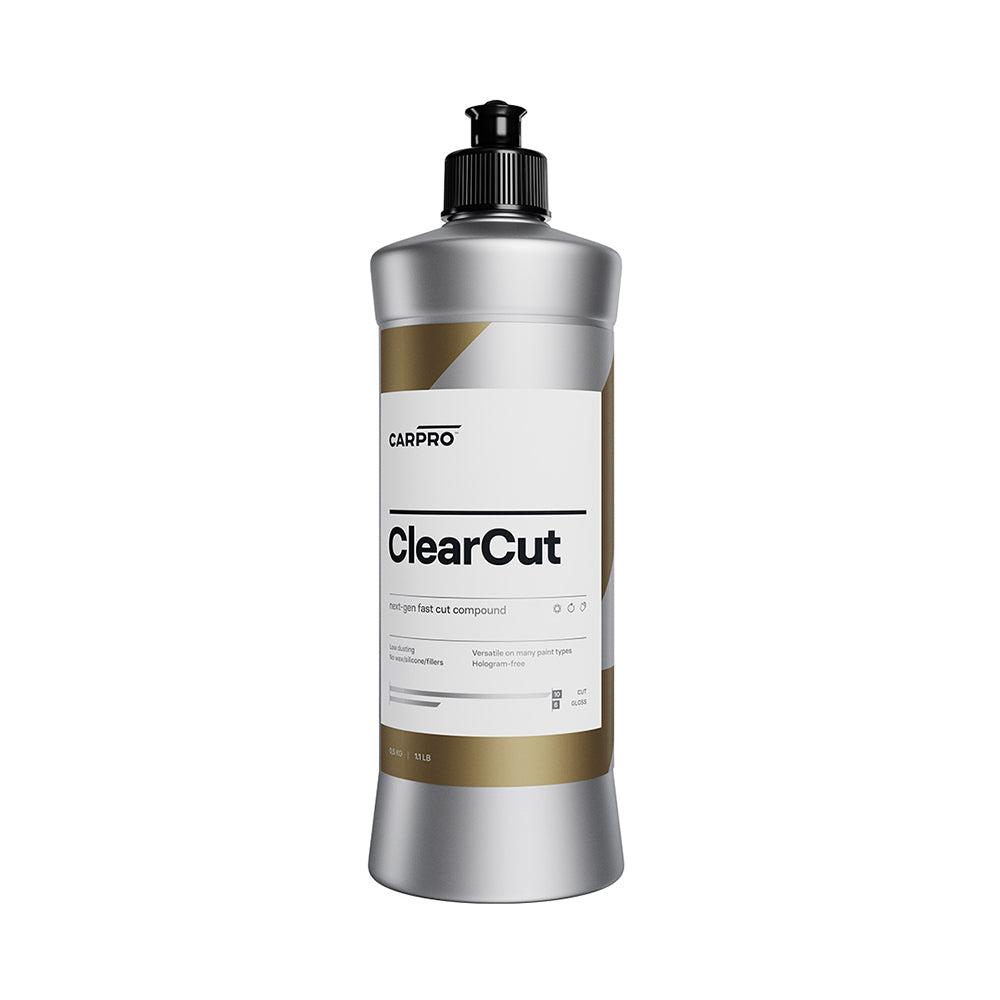
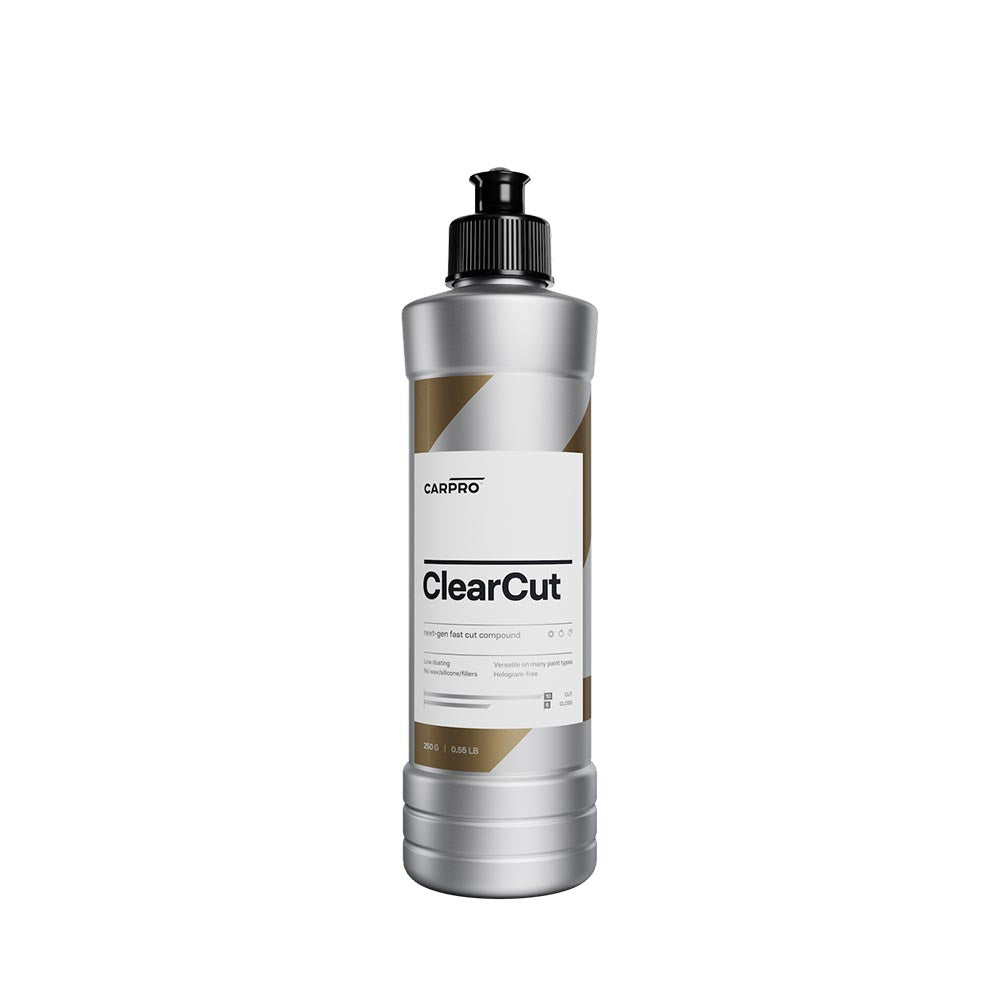



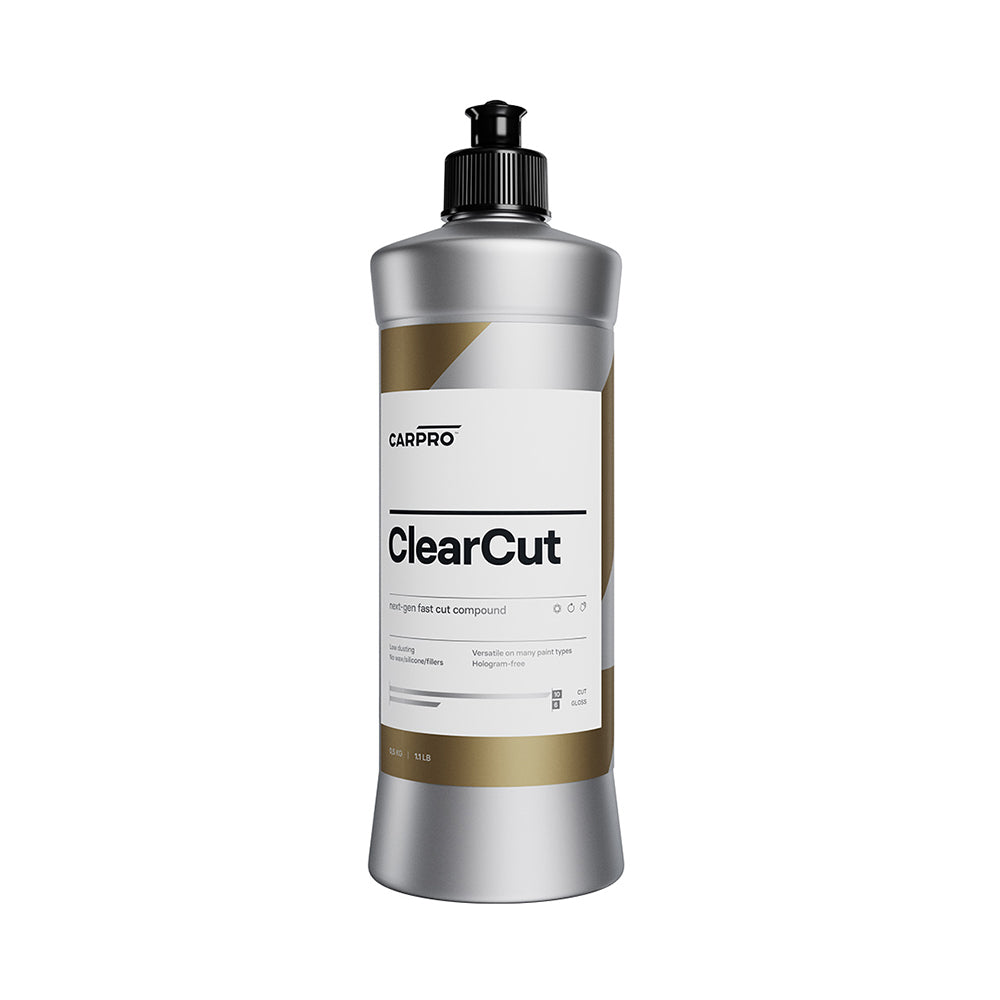
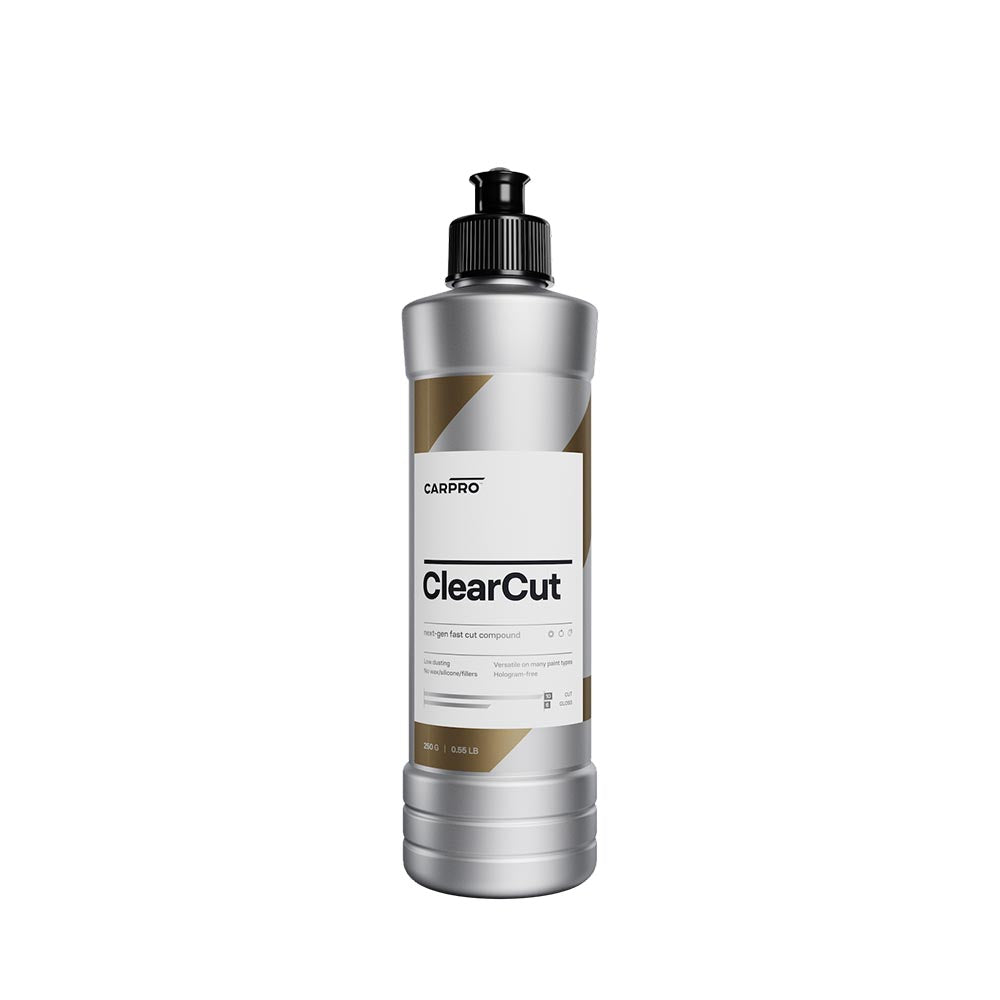
ClearCut is an extremely fast-acting cutting compound that removes defects easily and quickly. Save time with this unique fast, heavy-cutting compound.
CARPRO have spent years developing a more aggressive, faster-acting cutting compound. With an already successful line of compounds and polishes, ClearCut again pushes the boundary of abrasive technology with a rapid-cutting formulation.
ClearCut is a real time saver. Its sheer aggression lets you remove defects quickly, safely and effectively, and it can even finish down to a perfect level on some pad and paint combinations.
ClearCut is made up of extremely fast-acting liquid abrasives built from the ground up for efficiency, performance and speed. It contains no fillers whatsoever and is a pure cutting compound. On medium to hard paints it can be a one-step correction; for a two-step correction, follow with a finishing polish such as CARPRO Reflect.
Paving the way for new technology, ClearCut also has an unusual application method. It benefits from using a little more compound than usual, starting with minimal or no pressure and adding pressure later in the abrasive cycle.
Features
- Next-gen compound
- Rapid cut
- No wax, fillers or silicone
- Low dusting
- Removes scratches as deep as P1000 sanding marks
- Body shop safe
- Compatible with both dual action and rotary machines
- Compatible with a variety of foam, microfiber and wool pads, such as the CARPRO Cool Wool Cutting Pad
Directions (dual action)
- Prime a clean, dry pad with a very thin worked-in layer of compound, then add 3–4 pea-sized drops of product.
- Spread the product across the section.
- Raise the speed to medium/high.
- Use minimal pressure for the first 2–3 passes, increasing pressure with each pass.
- When the scratches are gone or the polish turns clear, wipe clean with a microfiber towel.
- Clean the pad.
- Move to the next section, apply 2–4 pea-sized drops to the pad and repeat.
Directions (rotary)
- Prime a clean, dry pad with a very thin worked-in layer of compound, then add 3–4 pea-sized drops of product.
- Spread the product across the section.
- Keep the polisher on low speed with low pressure, working at a maximum of 1000–1200 RPM.
- Use minimal pressure for the first 1–2 passes, increasing pressure ever so slightly.
- When the scratches are gone or the polish turns clear, wipe clean with a microfiber towel.
- Clean the pad.
- Move to the next section, apply 2–4 pea-sized drops to the pad and repeat.